The topic demonstrates different ways how to provide specific report data to a current user by setting the UserContext attribute in a report.
In the developer version of ActiveReports, you can set the UserContext attribute in Page, RDL, and Section report, then upload the report to ActiveReports Server. On the Server, the UserContext attribute filters report data to display only data specific to the current user. The UserContext attribute is particularly helpful when you have multiple tenants, logging into the same portal and you want to restrict the data available to each tenant.
To set the UserContext attribute as a parameter in a static query
To create a report for multiple tenants using the Chinook database
- In the ActiveReports Designer, under File, click New.
- In the Create New Report wizard, select Page Report and click OK.
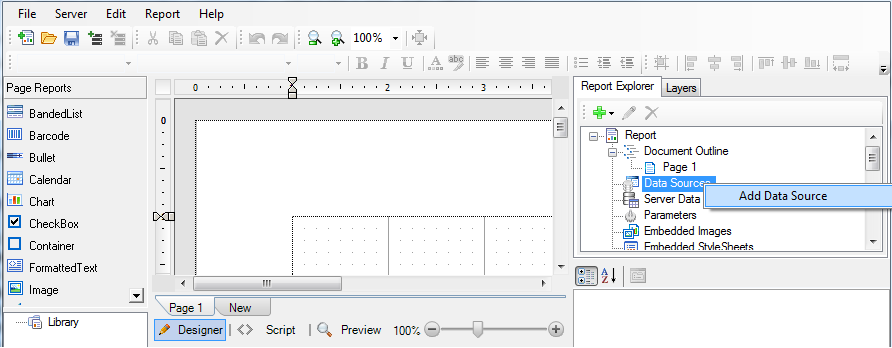
- To connect to a data source, in the Report Explorer, right-click the Data Sources node and select the Add Data Source option.
- In the Report Data Source dialog, create a connection to the Chinook database. For information, see Connect to a Data Source.
- To add a dataset, in the Report Explorer, right-click the Data Sources node and select the Add Data Set option.
- In the DataSet dialog, on the General page, enter Invoice as the name of the dataset.
- On the Query page of this dialog, in the Query field enter the following SQL query.
SQL Query Copy CodeSelect * from Invoice where CustomerID=@Invoice
- On the Parameters page of this dialog, click the Add button.
- In the Name field, enter Invoice and set its value to =[@Customer].
- Click OK to close the dialog.
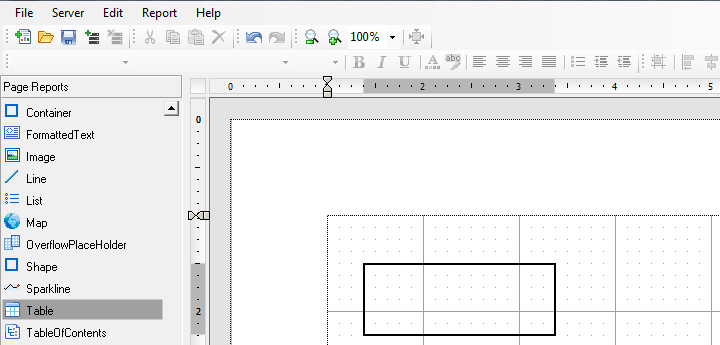
- From the Toolbox, drag the Table control onto the Design surface.
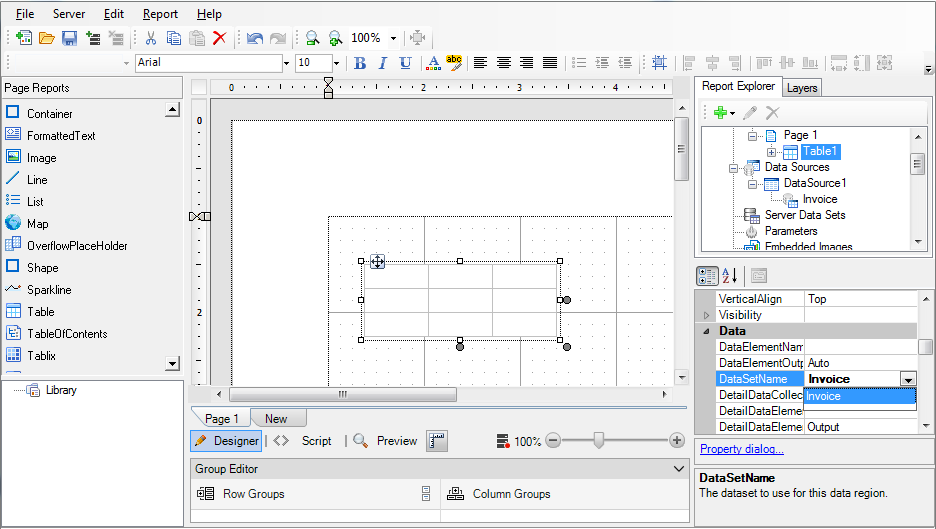
- Select the Table control and in the Properties window, set the DataSetName property to Invoice.
- In the Table's detail row, click the adorner in each cell to show a list of available fields from the data set and add the following fields to the cells.

Cell Field Left Cell InvoiceID Middle Cell InvoiceDate Right Cell Total
To set the UserContext attribute
The UserContext attribute is set in the report parameter that will retrieve specific information for the user that is logged into the server. See Add Parameters for detailed information about parameters in a page report.
- In the Report Explorer, right-click the Parameters node and select Add Parameter. The Report Parameters dialog appears.
- On the General tab, set the Name to Customer, set the Data type to Integer and select the Hidden box.
- On the Available Values tab, select Non-queried and in the Value field, enter = Code.UserContext.GetValue("CustomerID").
- Click OK.
To format the table (optional)
There are many ways you can format the table that you have added to the report in ActiveReports Designer. See Table in the ActiveReports User Guide for more information on the formatting possibilities.
- Select the Table control and go to the Properties window to set the following properties.
FixedSize 6.5in, 7in Location 0in, 0.5in RepeatHeaderOnNewPage True Size 6.4in, 0.7in - Select the Table's detail row and in the Properties window set the TextAlign property to Left and the BorderStyle property to Solid.
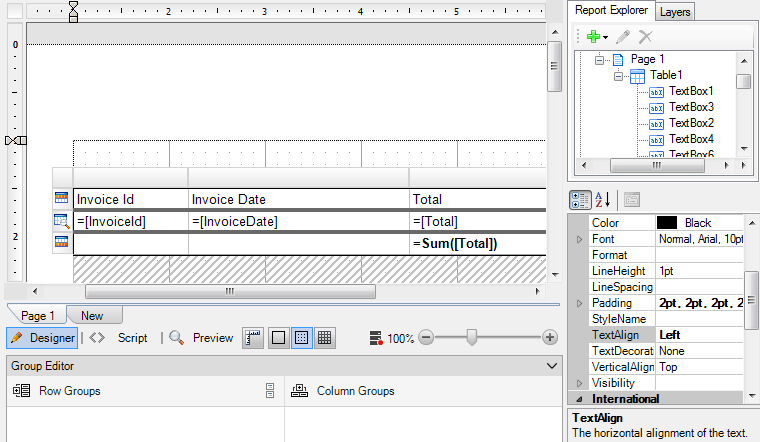
- Select the middle cell (InvoiceDate) of the details row and in the Properties window set the Format property to d.
- Select the right cell of the Table Footer and go to the Properties window to set the following properties.
Format c Value =Sum(Fields!Total.Value)
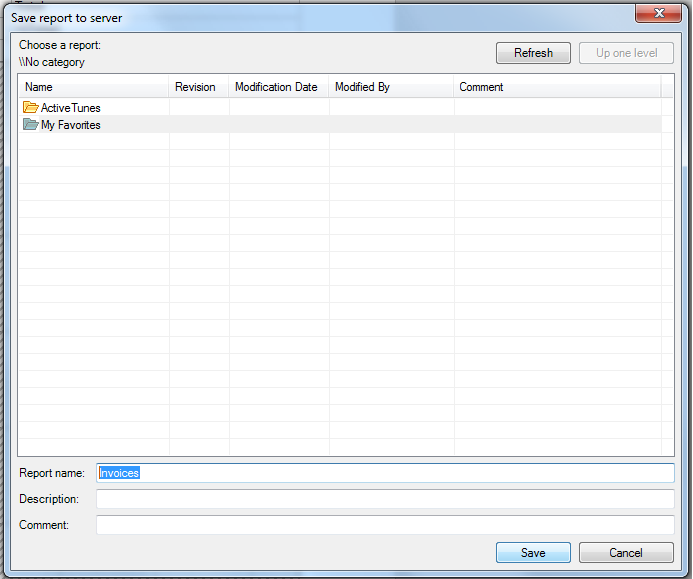
To upload the report to ActiveReports Server
- Connect to ActiveReports Server as described in Connecting to ActiveReports Server.
- Select the directory in the folders tree to choose the location in which to save the report on the server.
- Enter the report name in the Report name field as Invoices and click Save.
To set up the custom security provider
This topic uses the sample custom security provider project installed with ActiveReports Server. By default, this sample is in the following folder.
C:\ActiveReports 12 Server\SDK\ActiveTunes.SecurityProvider
For detailed steps on how to set up the custom security provider, see Deploy the Custom Security Provider for Debugging.
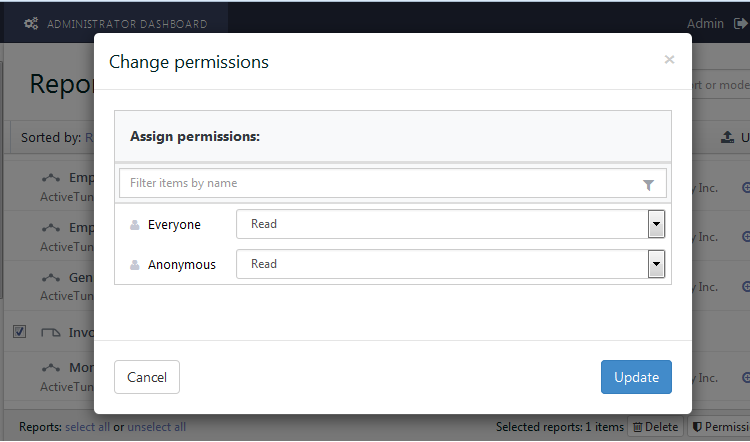
To set permissions for the report on ActiveReports Server
On ActiveReports Server, the report permissions have to be modified so that its multiple users can read it.
See To Manage Permissions to a Report on how to grant the Read permissions on the report.
To preview the report on ActiveReports Server
- Open the ActiveReports 12 Server Report Portal.
- On the Login screen that appears, in the User Name field, enter a customer ID, for example, luisg@embraer.com.br.
- In the Password field, enter 1 (for the luisg@embraer.com.br customer ID).
- Click Login.
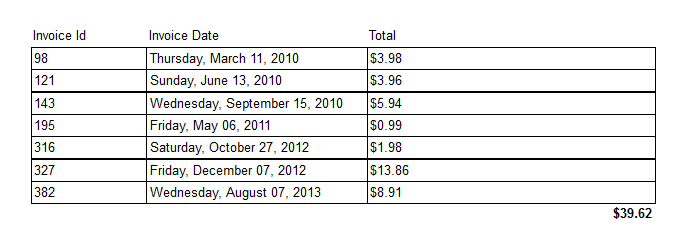
- In the ActiveReports Server Report Portal that appears, click the Preview report button for the Invoices report to see all invoices for the logged-in user.

To set the UserContext attribute in a dynamic query
To add a user to the Administrator role
You must add a user from the ActiveTunes security provider to the Administrator role to enable this user modify the report's Server Shared Data Source dialog and filter the report's data with the UserContext attribute.
This topic uses the sample custom security provider project installed with ActiveReports Server. By default, this sample is in the following folder.
C:\ActiveReports 12 Server\SDK\Samples\ActiveTunes.SecurityProvider
- In Visual Studio, open the ActiveTunes.SecurityProvider project.
- In the Constants.cs file, change the following string
public readonly string Employees = "ActiveTunes.Employee";
topublic readonly string Employees = "Administrator";
- From the Build menu, select Build Solution.
- From your project bin\Debug\ folder, copy the ActiveTunes.SecurityProvider.dll file and paste it into C:\ActiveReports 12 Server\SecurityProviders\ to make the security provider and debugging file available to ActiveReports 12 Server.
To set up the custom security provider
This topic uses the sample custom security provider project installed with ActiveReports Server. By default, this sample is in the following folder.
C:\ActiveReports 12 Server\SDK\Samples\ActiveTunes.SecurityProvider
For detailed steps on how to set up the custom security provider, see Deploy the Custom Security Provider for Debugging.
To create a report for multiple tenants using the Chinook database
- In the ActiveReports Designer, under File, click New.
- In the Create New Report wizard, select Page Report and click OK.
- To connect to a data source, in the Server menu, select Edit Shared Data Sources. You will be asked to connect to ActiveReports Server.
- Enter the user credentials from the ActiveTunes security provider to connect. In the User name field, enter steve@chinookcorp.com and in the Password field enter 5.
- Сlick Connect and then, in the Edit Shared Data Sources dialog, click Add.
- In the Report Data Source dialog, create a connection to the Chinook database. For information, see Connect to a Data Source.
- To add a dataset, in the Server menu, select Edit Shared Data Sets and click Add.
- In the DataSet dialog, on the General page, enter Invoice as the name of the dataset.
- On the Query page of this dialog, in the Query field enter the following SQL query.
Note: You can use the Visual Query Designer to build your dynamic query. See Visual Query Designer in the ActiveReports 12 documentation for details.
SQL Query Copy Code="select * from Invoice where CustomerID = " + Code.UserContext.GetValue("CustomerID")
- Click the Validate button to validate the query.
- Click Save to add the shared data set to the server.
- In the Report Explorer, right-click Server Data Sets and select Add Data Set.
- In the Add Server Data Set dialog, select Invoice and click OK.
- From the Toolbox, drag the Table control onto the Design surface.
-
Select the Table control and in the Properties window, set the DataSetName property to Invoice.
-
In the Table's detail row, click the adorner in each cell to show a list of available fields from the data set and add the following fields to the cells.
Cell Field Left Cell InvoiceID Middle Cell InvoiceDate Right Cell Total
To format the table (optional)
There are many ways you can format the table that you have added to the report in ActiveReports Designer. See Table in the ActiveReports User Guide for more information on the formatting possibilities.
- Select the Table control and go to the Properties window to set the following properties.
FixedSize 6.5in, 7in Location 0in, 0.5in RepeatHeaderOnNewPage True Size 6.4in, 0.7in - Select the Table's detail row and in the Properties window set the TextAlign property to Left and the BorderStyle property to Solid.
- Select the middle cell (InvoiceDate) of the details row and in the Properties window set the Format property to d.
- Select the right cell of the Table Footer and go to the Properties window to set the following properties.
Format c Value =Sum(Fields!Total.Value)
To upload the report to ActiveReports Server
- Connect to ActiveReports Server as described in Connecting to ActiveReports Server.
- Select the directory in the folders tree to choose the location in which to save the report on the server.
- Enter the report name in the Report name field as Invoices and click Save.
To preview the report on ActiveReports Server
- Open the ActiveReports 12 Server Report Portal.
- On the Login screen that appears, in the User Name field, enter a customer ID, for example, luisg@embraer.com.br.
- In the Password field, enter 5 (for the steve@chinookcorp.com customer ID).
- Click Login.
- In the ActiveReports Server Report Portal that appears, click the Preview report button for the Invoices report to see all invoices for the logged-in user.